BidLight + ACC / Autodesk Forma setup guide
Allow BidLight in your ACC account once, link a Revit model, and BidLight reads and publishes it on its own servers. Approved shop drawings are delivered back to the ACC folder you choose.
Before you start
- An Autodesk account with access to the ACC project's files.
- An ACC account admin, for the one-time integration.
BidLight Client ID
udms54Kbo2xEgRpKnATG77C9X6PJ07TCtiToDKp0hUGBh8E7
Your ACC account admin enters this once, under Custom Integrations. The live value is always the one shown with a Copy button in BidLight's own ACC file picker - use that if the two ever differ.
Step by step
Where to connect ACC/Forma in BidLight
Allow BidLight in your ACC account
Account admin, once per ACC account. ACC Account Admin, Custom Integrations, Add custom integration, then enter the BidLight Client ID and give it Document Management access. A client's hub only appears in BidLight after their own admin has done this.
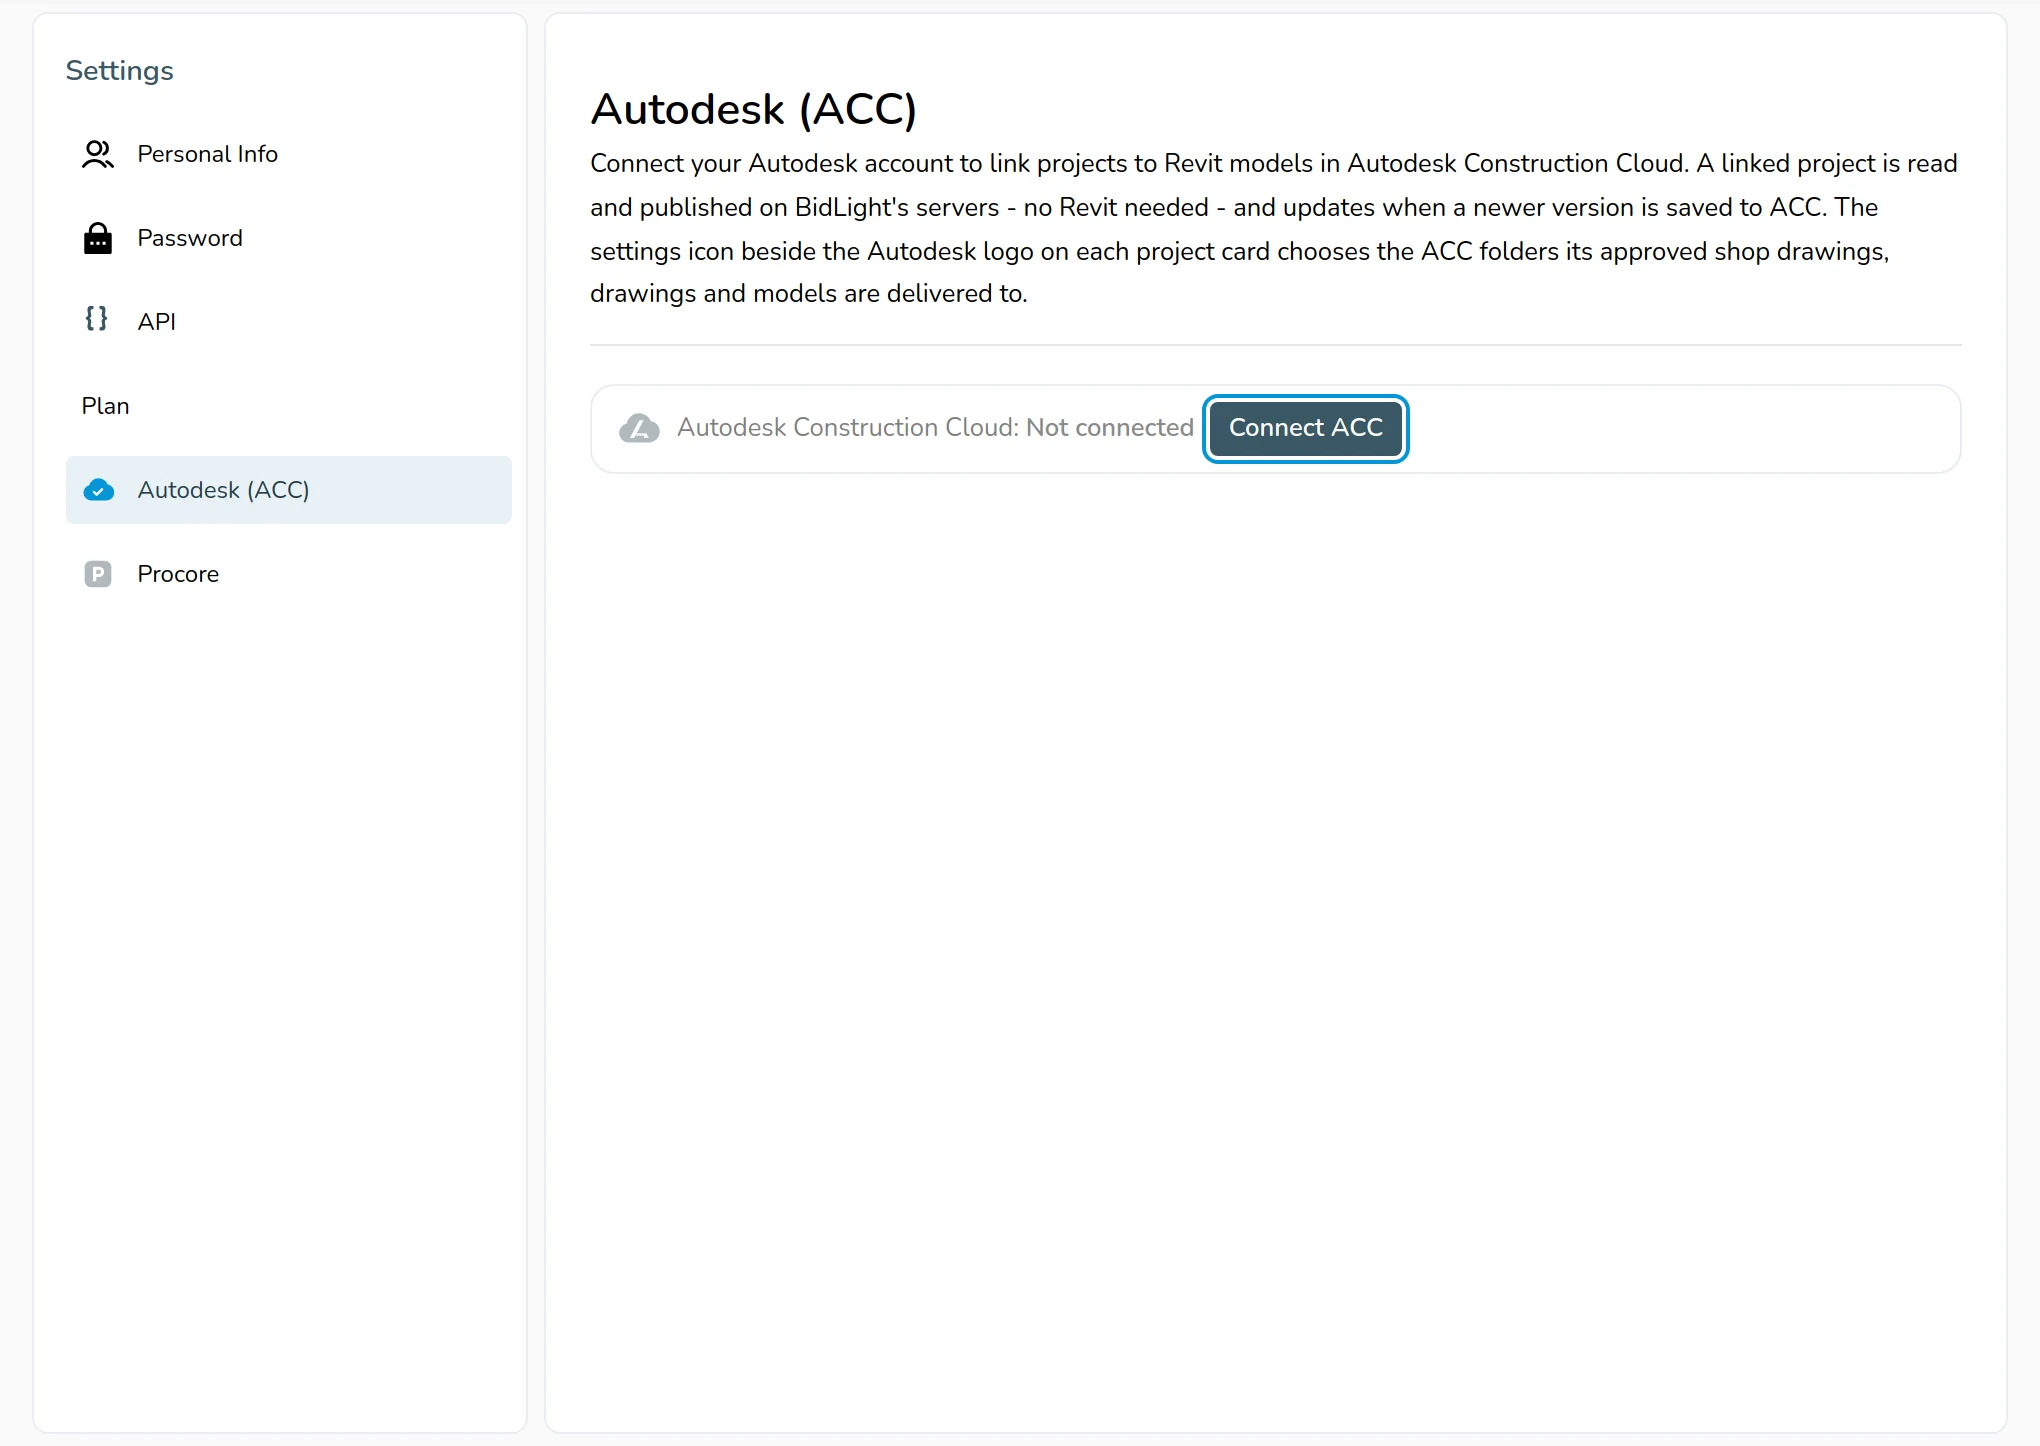
Connect your account
In BidLight, open My Projects and press Connect ACC. Sign in with Autodesk and press Allow. The Autodesk logo turns blue once you are connected.

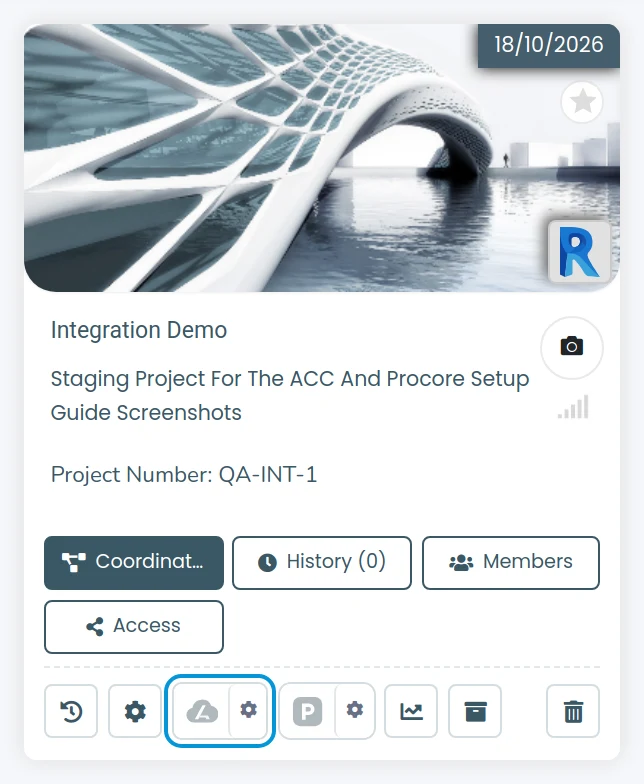
Link the Revit model
On the project card, click the Autodesk logo, then choose hub, project, folder and the .rvt file, and press Link. No Revit is needed: BidLight reads and publishes the model on its own servers. The card shows a spinner and the time remaining.
It keeps itself current
When a newer version is saved to ACC, BidLight picks it up within about ten minutes and publishes the changes. Links held in the same ACC folder as the host model are included.
Choose delivery folders
Click the settings icon beside the Autodesk logo. Pick an ACC folder for each kind of file - Shop drawings, Drawings, the Revit model and Navisworks coordination models. Each project keeps its own folders.
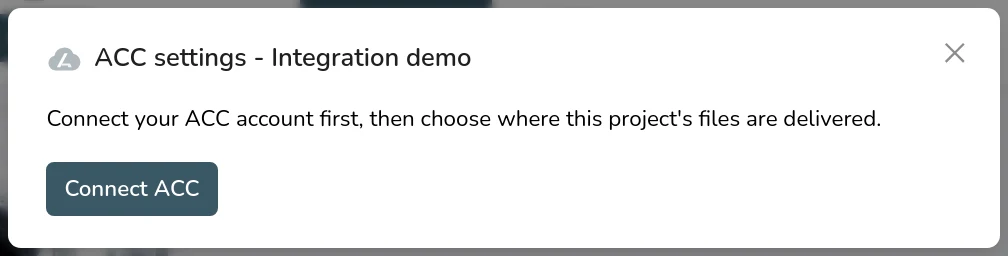
Turn on delivery
In that window, or on the Shop Drawings page, tick ACC. Each approved revision then lands as a new version of the same file in ACC.

How it flows
What the integration covers
Read from ACC and deliver back to ACC, with one link per model and a folder for each kind of file.
Into BidLight
Out to ACC / Forma
If something looks wrong
- If BidLight asks you to reconnect your Autodesk account to allow uploads, Disconnect and Connect again once.
- A missing hub means that account's admin has not yet added the BidLight Client ID.
Still stuck? Contact support, or see the other integration guides.